
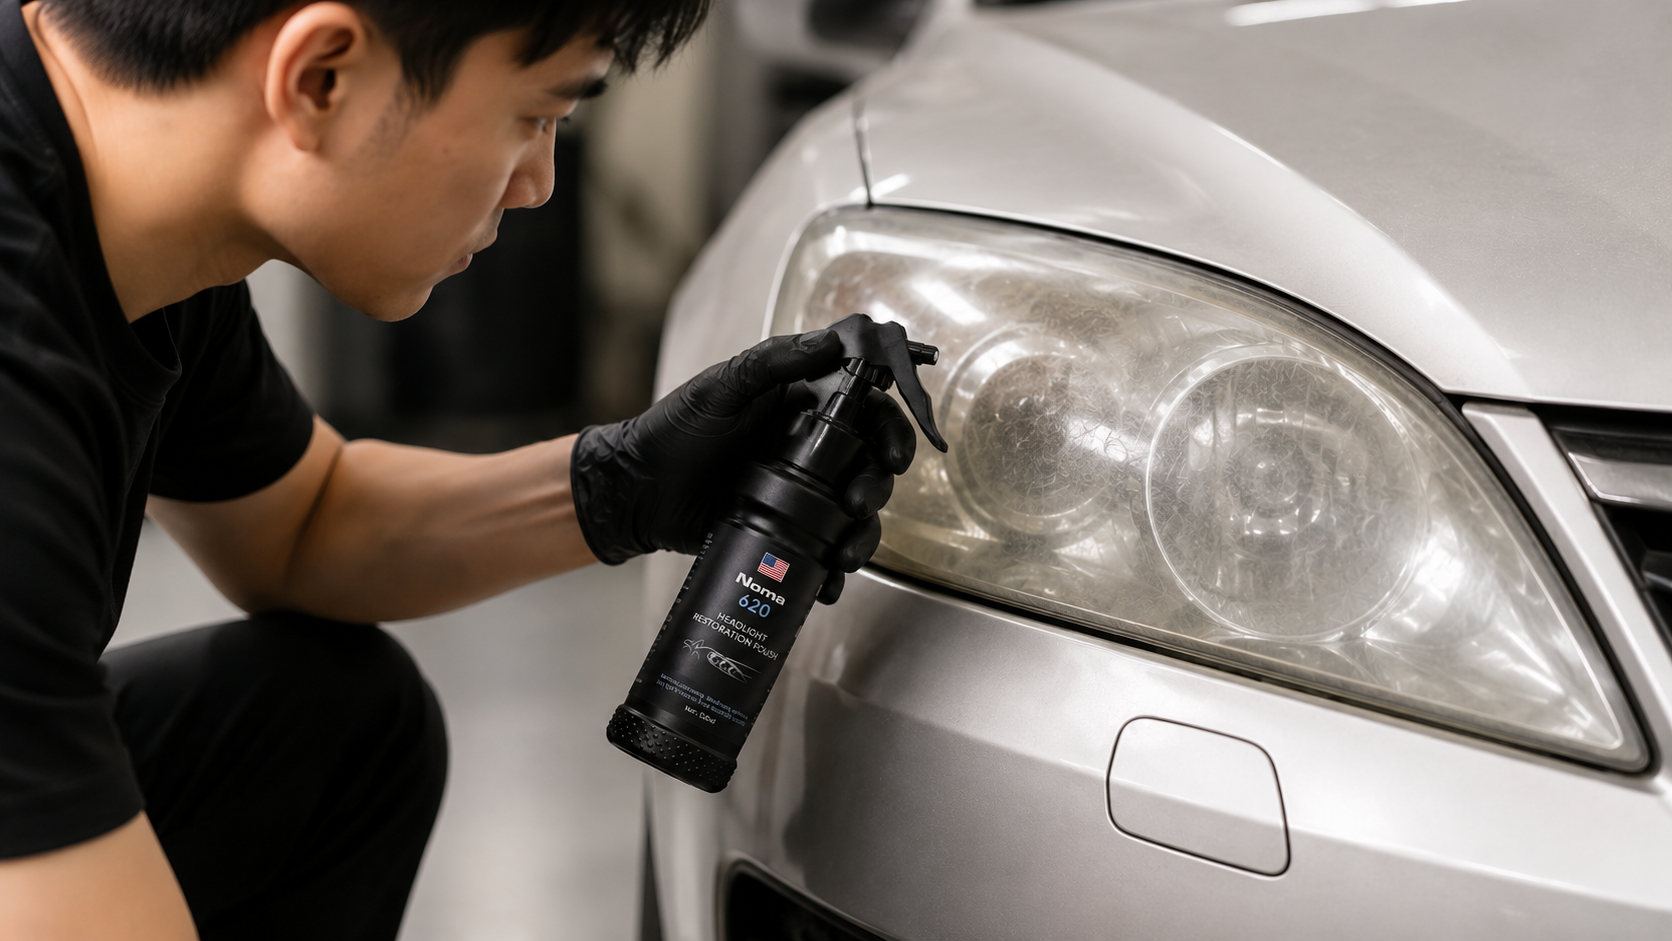
Restoring Yellowed Headlights: NOMA 620 vs. 5 DIY Methods

Restoring Yellowed Headlights: NOMA 620 vs. 5 DIY Methods
Yellowed, hazy headlights are a common issue on cars after 5–7 years of use. According to consumer advocacy reports, roughly 60% of owners of older cars run into this problem, but only about 30% choose an effective solution. Restoring yellowed headlights can be done at home without removing the housing or visiting a shop, and NOMA 620 is one of the most popular products for the job. This article compares NOMA 620 against other common DIY methods to help you find the best solution.
What Is Headlight Restoration with NOMA 620?
NOMA 620 is a dedicated product for restoring yellowed and hazy headlights. It’s formulated to strip away the outer layer of oxidation on the headlight lens without sanding or abrasive pads. Simply spray the product onto the headlight lens, let it sit for a few minutes, then rinse with water. The result: headlights that look clear and glossy again.
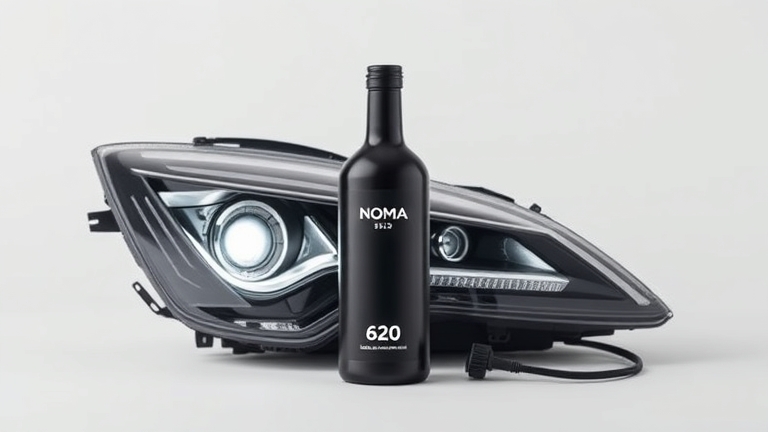 What Is Headlight Restoration with NOMA 620?
Key advantages:
- Safe on the headlight lens — doesn’t thin the material
- Time-saving (about 10–15 minutes per pair of headlights)
- Long-lasting results, no need for constant reapplication
- Suitable for people with no detailing experience
- Lower per-use cost than a shop visit
Safety note: NOMA 620 can be irritating to skin, so you MUST wear gloves when using it and avoid contact with your eyes. Wash your hands thoroughly once you’re done.
Sanding/Buffing: Effective, but High Risk
Sanding is a classic method used by many auto shops. Using a rotary or angle sander, a technician grinds down the headlight lens surface to remove the oxidized layer. This method works quickly, especially on severely yellowed headlights.
Pros:
- Removes yellowing effectively on the first try
- No lengthy prep or dwell time needed
Cons:
- Can thin the original lens material if sanded too aggressively
- Requires real skill to avoid warping, burning, or overheating the lens and causing cracks
- High risk when attempted at home without proper equipment
- Requires a clear-coat afterward for protection, adding extra cost
- Not suitable for thin modern polycarbonate lenses
Sandpaper: Cheap but Labor-Intensive
An old-school method some people still use: wet-sanding the headlight lens with progressively finer sandpaper (P1000, P1500, P2000), typically with water to keep the surface cool and reduce dust.
Pros:
- Cheap to get started (sandpaper costs very little)
- You can control how much material is removed with hand pressure
Cons:
- Very time-consuming (1–2 hours per pair of headlights)
- Results are often uneven, with some spots sanded more than others
- Physically tiring
- Hard to achieve a high-gloss finish without additional tools
- Still requires a protective coating afterward, just like sanding
Cutting Compound: Moderately Effective
Cutting compounds (like those from 3M or Meguiar’s) are used with a low-power buffer to restore yellowed headlights. It’s a middle-ground option between sanding and chemical restoration.
Pros:
- Moderately priced (roughly the cost of one bottle)
- Offers better control over material removal than sandpaper
- Works well on light to moderate yellowing
Cons:
- Requires a buffer (added equipment cost)
- Pressure and buffer speed heavily affect the outcome
- Can round off edges or overheat the lens if used incorrectly
- Results aren’t long-lasting — often needs redoing every 1–2 years
- Still needs a final protective coating
Temporary Sealants (Wax/Sealant on the Lens): A Surface-Level Fix
Some people simply try to “mask” yellowing with a layer of wax or sealant on the lens. This doesn’t actually restore the headlight — it just makes the lens look glossy temporarily.
Pros:
- Very quick and easy to do
- Low cost
Cons:
- Doesn’t remove yellowing, just hides it temporarily (a few weeks)
- The coating tends to peel off with water exposure or in the shade
- Unsafe, since the lens is still dim underneath — a real road safety concern
- Needs to be reapplied too often, wasting money over time
Detailed Comparison: NOMA 620 vs. Other Headlight Restoration Methods
| Criteria | NOMA 620 | Sanding | Sandpaper | Cutting Compound | Wax Masking |
|---|---|---|---|---|---|
| One-time cost | Low | Shop pricing | Very low | Moderate | Very low |
| Time required | 10–15 min | 30–60 min | 1–2 hours | 30–45 min | 5–10 min |
| Safe for the lens | ✓ Very safe | ⚠ High risk | ⚠ High risk | ⚠ Moderate risk | ✓ Safe |
| Effectiveness at removing yellowing | ✓ Very good | ✓ Best | ✓ Good (labor-intensive) | ✓ Moderate | ✗ Doesn’t remove it |
| How long results last | 2–3 years | 3–5 years | 1–2 years | 1–2 years | 2–4 weeks |
| Skill required | Low | High | Moderate | High | Low |
| DIY-friendly | ✓ Excellent | ✗ Difficult | ⚠ Possible | ⚠ Possible | ✓ Excellent |
| Requires protective coating after | Not required | ✓ Required (added cost) | ✓ Required | ✓ Required | Not required |
Why NOMA 620 Is the Best Option for Restoring Yellowed Headlights
Looking at the full picture, NOMA 620 combines three key advantages:
1. Completely safe for the headlight lens
Unlike sanding or sandpaper, NOMA 620 works at a chemical level without thinning the lens material. This matters a lot, since modern polycarbonate headlight lenses are already thin (just 2–3mm), and aggressive sanding shortens their lifespan.
2. Long-lasting results that save money over time
After using NOMA 620, restoration results can last 2–3 years with routine maintenance. Compared to temporary wax that needs reapplying every month, NOMA 620 saves you both time and money.
3. Ideal for people without detailing experience
Just spray, wait, and rinse. No buffer, no advanced skill, no hours of patience required. That makes NOMA 620 ideal for car owners who handle their own maintenance at home.
If your headlights are lightly to moderately yellowed, NOMA 620 is your best option. A full car glass care guide can also help you keep your glass looking clear for longer.
Frequently Asked Questions About Restoring Yellowed Headlights
How do I know when it’s time to restore my headlights?
When you notice your headlights looking hazy, yellowed, or the beam is more than 30% dimmer than normal, that’s a sign it’s time to restore them. You can check by comparing the two headlights side by side or against a similar-aged car. It’s a good idea to restore your headlights roughly every 2–3 years to maintain road safety.
Can I use NOMA 620 on any type of headlight?
NOMA 620 works on most polycarbonate headlight lenses found on today’s vehicles. However, if your car uses glass lenses or complex “multi-layer” lenses (common on premium vehicles), check your headlight specs or contact the manufacturer to confirm compatibility first. More detail on caring for your car’s glass components is available on the NOMA website.
Do I need to apply a protective coating after using NOMA 620?
It’s not required, but to extend the results, you can apply NOMA 922 (a water-repellent nano glass coating) 1–2 days later. This nano layer helps repel dirt and rain and slows down oxidation from starting up again.
Can NOMA 620 irritate skin or eyes?
NOMA 620 contains ingredients that can irritate skin. You MUST wear rubber gloves throughout the process and avoid touching your face or eyes until you’ve washed your hands. If it does get in your eyes, rinse immediately with clean water and see a doctor if irritation continues.
How long does it take to see results when restoring yellowed headlights?
You’ll see results right after the first use of NOMA 620. Headlights become noticeably clearer with much less yellowing. That said, if the yellowing is very deep (over 5 years old), you may need to repeat the process 1–2 times over 2–3 weeks to fully clear it.
Should I restore my headlights at home or take them to a shop?
For light to moderate yellowing, doing it yourself at home with NOMA 620 is cheap, fast, and safe. For severe yellowing or deep scratches, or if you want a flawless finish, a specialized shop is a better choice — though it will cost 2–3 times more.
Conclusion: Restoring Yellowed Headlights with NOMA 620 Is the Smart Choice
Restoring yellowed headlights doesn’t have to be complicated if you choose the right method. NOMA 620 stands out from traditional methods because it combines safety, effectiveness, and cost savings. No expensive equipment, no advanced skills, no hours of your time — just 10–15 minutes and your headlights will look clear again.
If you’re a car owner who likes handling maintenance yourself, NOMA is a brand you can trust. Give it a try and see the difference for yourself.

Brake Dust Removal on Wheels: NOMA 350 vs. Sonax 2026 Compared
Brake Dust Removal on Wheels: NOMA 350 vs. Sonax 2026 Compared
Brake dust is one of the biggest challenges in at-home wheel care. Black dust clings stubbornly to painted and alloy surfaces, and if it isn’t cleaned off, it can lead to corrosion and ruin the look of your wheels. Many car owners ask the same question: which brake dust remover for wheels is both effective and safe?
According to detailing industry reports, brake dust contains microscopic metal particles and binding compounds from brake pads and tires that bond tightly to wheel surfaces due to heat and humidity. This article compares NOMA 350 with Sonax — two highly rated products on the market — to help you make the right choice.
What Is Brake Dust Removal and Why Does It Matter?
Brake dust removal is the process of clearing away the black residue that brake components deposit onto your wheels. This dust comes from friction between the brake rotor and the wheel, forming a hardened film that plain water or ordinary soap can’t fully remove.
If brake dust is left to sit for too long, it can cause corrosion on alloy wheels, damage the finish, and shorten the wheels’ lifespan. That’s why you should clean off brake dust every 2–4 weeks, depending on how much you drive. Using a dedicated brake dust remover like NOMA 350 gets the job done up to 50% faster than scrubbing by hand.
NOMA 350 — Specialized Brake Disc & Brake Dust Cleaner
NOMA 350 is a dedicated brake dust cleaner engineered to break down and dissolve iron particles and binding residue without harming your wheel’s finish or brake components. The formula is developed to American detailing standards and its safety is documented in a publicly available GHS-compliant MSDS.
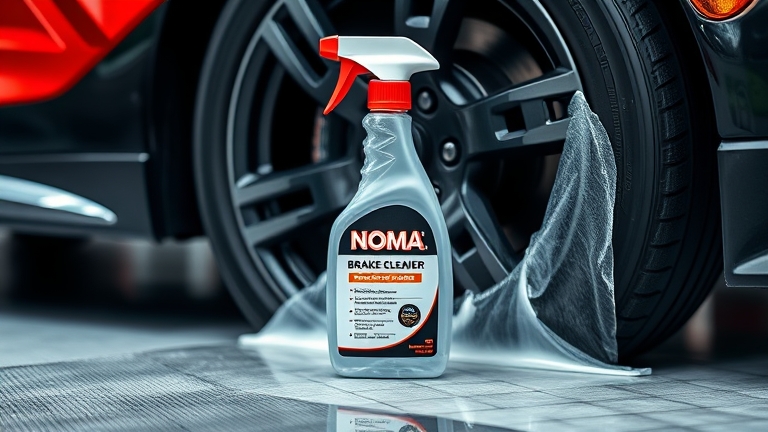 NOMA 350 — Specialized Brake Disc & Brake Dust Cleaner
Key features of NOMA 350:
- Non-abrasive formula, safe on both alloy wheel finishes and standard wheel paint.
- Breaks down heavy dust buildup in 5–10 minutes (depending on how caked-on it is).
- Leaves no chemical residue — rinses off with plain water.
- Affordably priced for regular at-home use.
Cleaning your brakes correctly at home also helps you get the most out of this product.
Sonax — An International Wheel Cleaner
Sonax is a German car care brand known for its fast-reacting formulas. Its brake and dust cleaner relies on powerful degreasing agents that break down dust quickly.
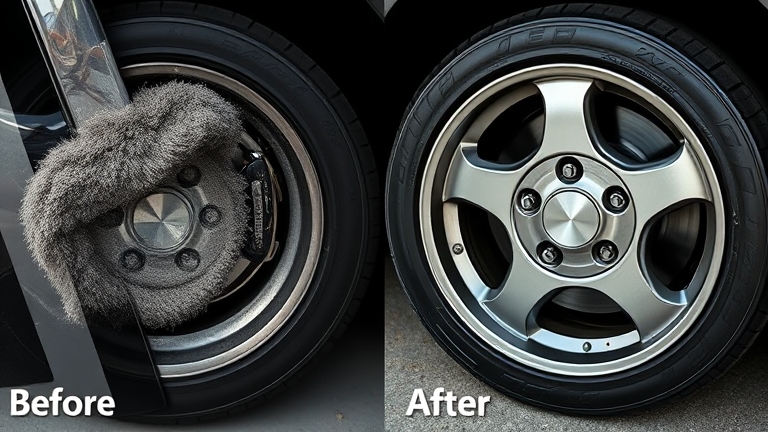 Sonax — An International Wheel Cleaner
Features of Sonax’s brake cleaning line:
- Fast-acting — dust breaks down in 3–5 minutes.
- Formulated with relatively strong degreasing agents.
- Widely available internationally and easy to find.
- Priced above average compared to similar products.
NOMA 350 vs. Sonax: Detailed Comparison Table
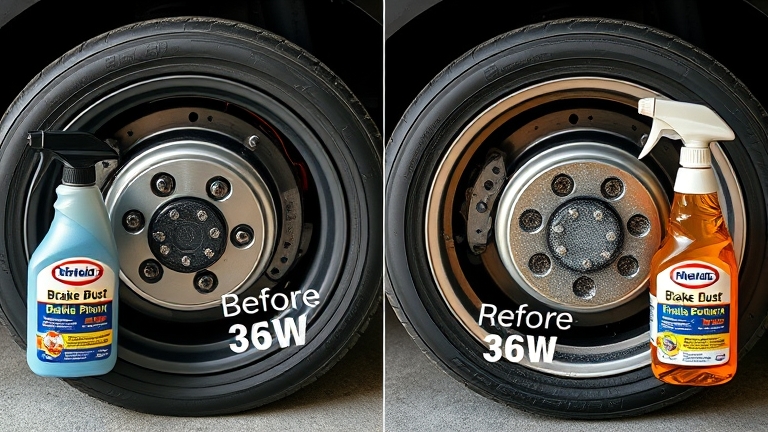 NOMA 350 vs. Sonax: Detailed Comparison Table
| Comparison Criteria | NOMA 350 | Sonax |
|---|---|---|
| Dwell time | 5–10 minutes | 3–5 minutes |
| Safe on wheel finish | ✓ Well-balanced | ✓ Good, but can seep into tight gaps |
| Skin safety | ✓ Non-corrosive (within limits) | ✓ Wash hands immediately after use |
| Ease of use | ✓ DIY-friendly, easy to control | ⚠ Dilution needs adjusting |
| Product economy | ✓ Moderate amount needed, easy to control | ✓ Highly effective, but needs careful dosing |
| Effectiveness on heavy dust | ✓✓ Excellent | ✓ Good, but can be inconsistent on repeat use |
| Ease of rinsing | ✓ Rinses clean in one pass | ⚠ Needs 2–3 rinses to clear residue |
| Local availability | ✓ Authentic product, 24/7 support | ⚠ Depends on the distributor |
Which Brake Dust Remover Is Right for You?
Choose NOMA 350 if you:
- Want a reasonably priced product without sacrificing performance.
- Clean your wheels frequently (every 2–4 weeks) and want better value for money.
- Are new to detailing and need something easy to control with low risk.
- Prioritize local support and a clear warranty.
Choose Sonax if you:
- Prioritize speed — dust breaks down fast, ideal when you’re short on time.
- Have detailing experience and are comfortable adjusting concentration.
- Are willing to pay more for a German-imported formula.
- Deal with heavy brake dust regularly (multi-spoke alloy wheels or high-performance brakes).
How to Safely Remove Brake Dust from Wheels
Whether you choose NOMA 350 or Sonax, the basic steps are similar:
- Prep: Rinse the wheel with clean water first to remove surface dust.
- Spray on the product: Apply evenly to the wheel and let it dwell for 5–10 minutes (depending on the product).
- Agitate gently: Use a soft brush or cloth to work the product in.
- Rinse thoroughly: Rinse with water and check for leftover residue.
- Dry completely: Use a microfiber towel to dry fully and prevent corrosion.
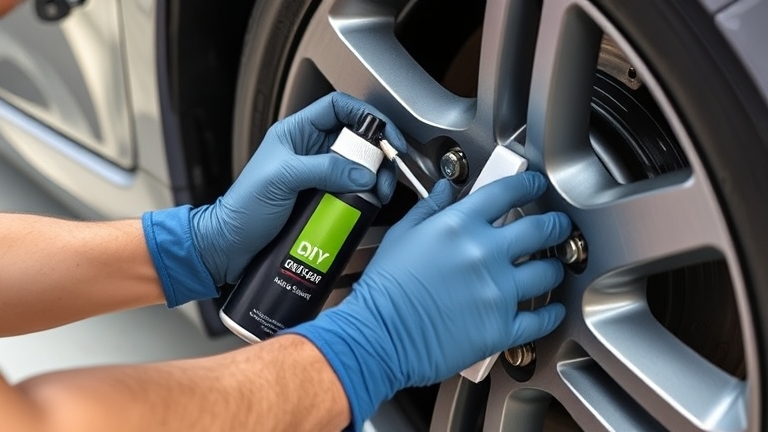
⚠ Safety note when using a brake dust remover on wheels: Avoid direct contact with skin or eyes, wear protective gloves, and work in a well-ventilated area.
A complete guide to caring for your car’s paint can help you further refine your process.
Other Factors That Affect Brake Dust Removal Results
The effectiveness of any brake dust remover also depends on:
- Dust age: Fresh dust (under 2 weeks old) is easier to remove than old dust that has bonded with the finish over time.
- Wheel type: Glossy painted wheels clean up more easily, while textured or anodized surfaces hold onto dust more stubbornly.
- Weather conditions: It’s best to clean brake dust in the morning or evening, out of direct sunlight.
- Salt and humidity: In coastal areas or regions with high humidity, brake dust bonds even more tightly.
You can pair NOMA 350 with NOMA 880 paint protection coating after cleaning to keep your wheels glossy longer and make it harder for brake dust to stick.
Frequently Asked Questions About Brake Dust Removal on Wheels
How often should I remove brake dust?
It depends on how you drive. If you drive daily in the city with frequent braking, clean your wheels every 2–3 weeks. If you mostly drive highways with less braking, once a month is usually enough. Regular brake inspections also help catch issues early.
Can I use regular soap instead of a dedicated brake dust remover?
No. Regular soap only removes surface dust. Brake dust contains binding compounds that don’t dissolve easily and require a dedicated cleaner like NOMA 350 to break down completely. Using regular soap just wastes time and effort.
Will NOMA 350 damage my wheel’s finish?
No. NOMA 350 is formulated to be safe on wheel finishes — it’s non-abrasive and won’t dull the color. That said, you should rinse it off within 10 minutes to avoid leaving it on too long, and always wear gloves to protect your skin.
Which is more effective on very heavy brake dust — Sonax or NOMA 350?
Both are effective, but Sonax acts faster (3–5 minutes). NOMA 350, however, is both safe and easy to control — for very heavy dust, simply let it dwell an extra 2–3 minutes and agitate again. The final results end up nearly identical.
Should I pair brake dust removal with other NOMA products?
Yes. After using NOMA 350 to remove brake dust, follow up with NOMA 890 spray sealant or NOMA 880 nano coating to protect your wheel finish longer and make it harder for brake dust to build up again.
Conclusion: Brake Dust Removal on Wheels — NOMA 350 or Sonax?
NOMA 350 is the best choice for most DIY car owners for three reasons:
 Frequently Asked Questions About Brake Dust Removal on Wheels
- Well-balanced performance and price: Comparable results, at 40–50% less than Sonax.
- Easy and safe to use: An effective formula that’s also easy to control, ideal for beginners.
- Local support: A clear warranty and 24/7 support at noma.vn.
Sonax is a good fit if you prioritize speed and already have detailing experience.
Whichever product you choose, the key is cleaning brake dust off your wheels regularly to keep them looking bright and to extend their lifespan. Choose NOMA 350 to start your professional at-home car care routine — low cost, high performance, and reliable technical support included.
Have you tried NOMA 350 or Sonax before? Share your experience in the comments below — we’re happy to offer more advice on wheel care.