
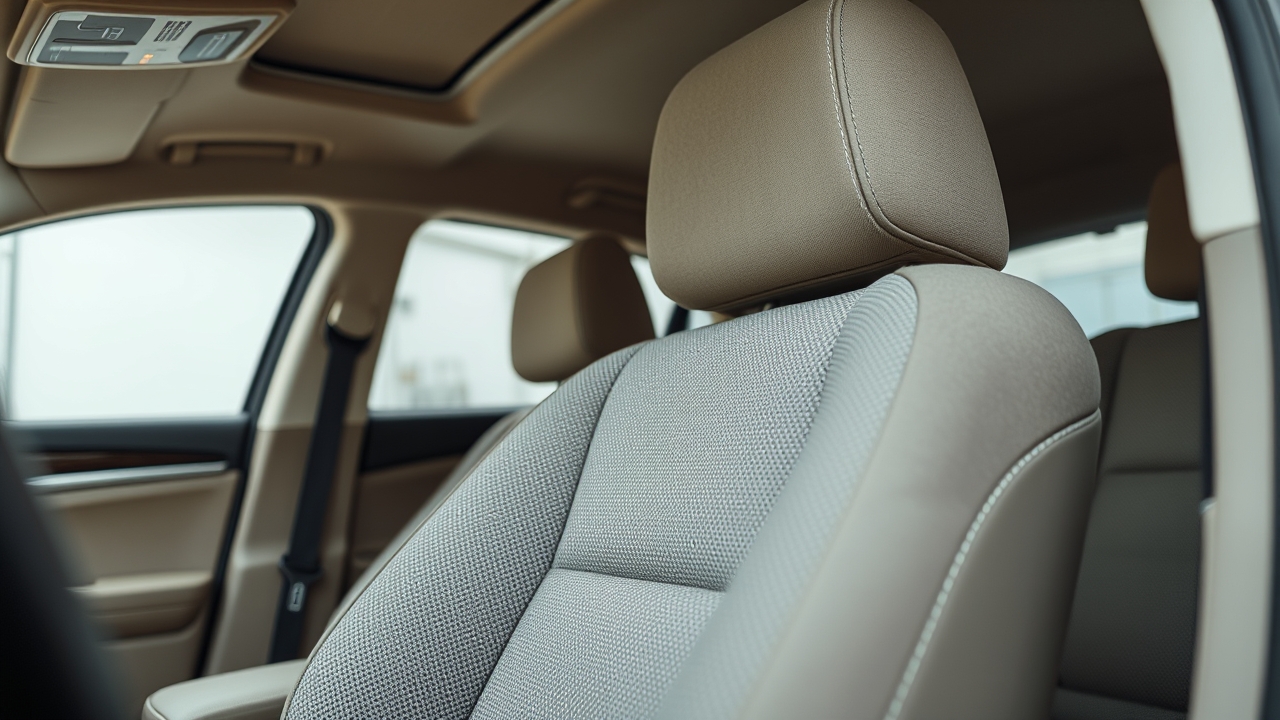
5 Common Mistakes When Cleaning Fabric Car Seats — and How to Fix Them

5 Common Mistakes When Cleaning Fabric Car Seats — and How to Fix Them
Fabric car seats get dirty fast since they’re constantly exposed to dust, sweat, coffee spills, and more. But cleaning fabric car seats isn’t as simple as just water and soap. According to quality and standards industry reports, using the wrong cleaning product on fabric seats can damage synthetic fibers, leave them matted, and cause visible fading after just 2–3 cleanings.
Below are the 5 most common mistakes car owners make when cleaning fabric seats, along with detailed fixes for each. With NOMA 692 — built specifically for cleaning fabric and leather car seats — you’ll have a professional-grade tool to keep your fabric seats clean and long-lasting.
Mistake 1: Using Water That’s Too Hot
One of the biggest mistakes is cleaning fabric seats with water that’s too hot. Plenty of people assume hot water cuts through stains more easily, but the opposite is actually true.
Once water temperature climbs above 122°F (50°C), fabric fibers shrink, lose their elasticity, and become prone to damage. This is especially risky for synthetic fabric blends, since man-made fibers can’t handle high heat.
The fix: Always use cold or lukewarm water (below 86°F/30°C) when cleaning fabric seats. For better cleaning power without the heat, use a dedicated product like NOMA 692 — a cleaning solution formulated specifically for fabric and leather that doesn’t require hot water.
Also, let the seat air-dry naturally, and avoid direct sun exposure or a hot hair dryer.
Mistake 2: Scrubbing Too Hard, Which Pulls and Frays the Fibers
A lot of people scrub hard when cleaning fabric seats, assuming it removes stains more effectively. In reality, fabric fibers are quite vulnerable to mechanical force.
When you scrub too aggressively, fibers get pulled loose from the base weave, damaging the fabric’s structure. The telltale signs are a fuzzy, matted texture, loss of that smooth finish, and visible balding patches.
The fix includes:
• Use your hand or a soft brush (natural bristle) and scrub gently in one direction only.
• When using a towel, choose a fine-fiber option — ideally a dedicated microfiber towel — instead of a stiff or rough cotton cloth.
• Avoid stiff brushes, facial scrub brushes, or toilet brushes — these tools will tear up fabric fast.
Mistake 3: Not Drying Properly, Which Leads to Odor
After cleaning fabric seats, leftover moisture creates a damp environment that’s prone to odor and mildew. A lot of people leave the seat wet for too long or close up the car right away without letting it dry.
The result: after a few days, the seat develops a sour smell, and there’s a real risk of mold or harmful bacteria growing.
The fix:
• After cleaning, use a dry towel (or clean absorbent paper) to blot up as much moisture from the seat as possible.
• Open the car doors and windows and let the seat air-dry naturally for 2–3 hours. On a sunny day, you can even sit in direct sunlight with the doors open to speed up evaporation.
• DO NOT use a hair dryer or any hot air source to dry the seat — this will damage the fabric fibers.
Mistake 4: Leaving Behind Powder or Chemical Residue That Re-Soils the Seat
Some powder-based fabric cleaners are marketed as highly effective. But if you don’t fully vacuum up the leftover powder, it ends up settling back into the fabric.
Leftover powder residue makes the seat feel dirty again and uncomfortable to sit on. What’s more, some powders contain harsh chemicals that can cause fading or leave white marks on fabric.
The fix:
• Favor liquid or foam cleaners over powder formulas. NOMA 692 is a dedicated liquid formula that rinses away cleanly without leaving powder or residue behind.
• If you do use a powder product, vacuum thoroughly afterward with a vacuum cleaner or soft brush to make sure none is left behind.
• Always check a new product carefully before full use — read the instructions and spot-test on a small, hidden area first.
Mistake 5: Skipping Regular Cleaning, Letting Dirt Build Up and Become Hard to Remove
Plenty of car owners only clean their fabric seats once they’re seriously dirty. But cleaning on a regular schedule (every 1–2 weeks) is far easier than tackling seats that have been dirty for a long time.
When stains sit for a long time, they soak deep into the fibers and become much harder to remove. That forces you to scrub harder or use stronger chemicals, both of which damage the fabric.
The fix:
• Clean your fabric seats regularly — wipe away dust and sweat at least once every 2 weeks.
• After every drive, if you notice a spot of dirt, clean it right away — this only takes 5–10 minutes and prevents stains from setting in deep.
• Check out our complete interior maintenance guide for more detail on frequency and technique.
Comparison Table: Common Mistakes vs. The Right Approach
| Criteria | Common Mistake | The Right Approach | Result |
|---|---|---|---|
| Water temperature | Too hot (>122°F/50°C) | Cold or lukewarm (<86°F/30°C) | Fibers don’t shrink, fabric lasts longer |
| Scrubbing technique | Scrubbing hard, tearing fibers | Gentle scrubbing with a soft brush | No matting, smooth fabric surface |
| Drying | Left wet, car closed up | Blot dry, crack windows, air-dry | No odor, no mold growth |
| Product used | Powder or harsh chemicals | Dedicated formula like NOMA 692 | Clean result, no fading |
| Frequency | Only cleaned once heavily soiled | Regular cleaning (every 2 weeks) | Easier cleanup, longer-lasting seats |
The Best Solution: Cleaning Fabric Car Seats with NOMA 692
NOMA 692 is a dedicated product formulated to clean fabric and leather car interiors without causing damage. Standout features include:
• A formula that’s safe for fabric fibers: no corrosive chemicals, compatible with synthetic fiber structures.
• Rinses away easily: just cold water — no hot water or hard scrubbing required.
• No powder or residue left behind: a pure liquid formula that evaporates fully once dry.
• Effective odor elimination: cleans deep and removes the bacteria that cause odor.
The NOMA 692 cleaning process:
1. Vacuum the seat first to remove loose dirt.
2. Mix NOMA 692 according to the recommended ratio (typically 1 part product to 5 parts cold water).
3. Use a soft brush or a dedicated upholstery brush to scrub gently in one direction.
4. Wipe away excess moisture with a clean microfiber towel.
5. Crack the windows and let it air-dry naturally for 1–2 hours.
According to professional detailers, using the right product and the correct process can extend interior lifespan to 5–7 years, compared to just 2–3 years with improper cleaning habits.
Frequently Asked Questions About Cleaning Fabric Car Seats
What’s the fastest way to clean fabric seats without damaging them?
The fastest method is a dedicated product like NOMA 692 paired with a soft brush. A full seat cleaning only takes 15–20 minutes. For small spot cleaning (water marks, light dust), you can be done in 5 minutes with a damp microfiber towel.
Can I use regular dish soap to clean fabric seats?
It’s not recommended. Regular dish soap is too harsh and can fade or dry out fabric fibers. Choose a dedicated product like NOMA 692, formulated for both leather and fabric, or another purpose-built interior cleaner.
What causes odor in fabric seats, and how do I get rid of it?
Odor usually comes from moisture, bacteria, mold, or long-term sweat buildup. To eliminate it, do a deep clean with NOMA 692, then let the seat dry completely. If the smell lingers, leave a bowl of baking soda on the seat overnight to absorb it.
How often should fabric seats be cleaned each year?
Plan on wiping away dust and sweat at least once every 2 weeks. If you drive daily or notice visible dirt, do a deeper clean once a month. On top of that, a full deep clean every 3–6 months helps maintain overall quality.
What kind of brush works best for cleaning fabric seats?
A soft natural-bristle brush or a dedicated upholstery brush is your best bet. Avoid stiff brushes, facial scrub brushes, or toilet brushes, since they’ll tear up the fabric. A small brush head with soft bristles lets you clean detail areas without damaging the material.
Do I need a pressure washer to clean fabric seats?
No, avoid using a pressure washer on fabric seats. Strong water pressure pulls fibers loose from the base weave. Stick to hand-washing with a soft brush, or use a wet vacuum if you have one available.
Conclusion: Proper Fabric Seat Cleaning Is a Skill Worth Learning
Cleaning fabric car seats isn’t difficult, but avoiding these common mistakes is essential to protecting your interior. Hot water, scrubbing too hard, leaving seats wet, and skipping regular cleaning all cause damage that adds up over time.
By following the guidance above and using a dedicated product like NOMA 692, you’ll keep your fabric seats clean, soft, and long-lasting. Start today with a regular cleaning schedule and the right tools — your fabric seats will thank you.

5 Mistakes When Cleaning Leather Car Seats and How to Fix Them with NOMA 692
How to Clean Leather Car Seats the Right Way — Avoid These 5 Common Mistakes
Leather car seats are a symbol of comfort and luxury, but they’re also easy to damage if you don’t care for them properly. According to interior-maintenance industry reports, mistakes made during cleaning are the leading cause of cracked, faded leather. Cleaning leather car seats isn’t just about wiping away dirt — it’s about protecting the material’s structure and keeping its shine and durability for the long haul.
Plenty of owners handle their own car care at home, but they often fall into a few simple traps: using water that’s too hot, skipping the drying step, or forgetting to condition the leather afterward. These mistakes can tank your interior’s resale value and shorten its lifespan. NOMA 692, a dedicated leather seat cleaner, is formulated to fix these problems safely and effectively, making it easy for any owner to handle proper interior care at home.
Mistake 1: Using Water That’s Too Hot
Hot water is leather’s worst enemy. Once water temperature climbs above 104°F (40°C), it starts breaking down the protein structure in the leather, leaving it dry, stiff, and prone to cracking. A lot of owners assume hot water kills more bacteria and cleans deeper — but it actually does the opposite.
The fix: Always use cold or lukewarm water (below 86°F/30°C) when cleaning leather seats. Start by vacuuming loose dirt off the surface, then wipe it down with NOMA 692 mixed with cold water. The formula is designed to lift dirt effectively without harming the leather.
The right process:
-
- Vacuum loose dirt with a vacuum cleaner or soft brush.
-
- Dilute NOMA 692 with cold water at a 1:3 ratio.
-
- Wipe the leather surface with a soft cloth or soft brush.
-
- Go over it again with a clean, damp cloth to remove any remaining residue.
Mistake 2: Skipping the Drying Step
Not drying your seats properly creates the perfect breeding ground for mold and bacteria. Leftover moisture doesn’t just cause a musty smell — it also softens and weakens the leather, making it more prone to damage when you sit down. Every owner should understand that natural leather is especially vulnerable to moisture that soaks deep into its pores.
The fix: Once you’re done cleaning, dry the leather completely with a soft cotton towel or a chamois cloth. Don’t let it air-dry on its own — that takes far too long and makes it hard to control the final moisture level.
Practical tips:
-
- Use a cotton or linen towel to dry — avoid denim or rough fabric.
-
- Crack the windows for airflow to help moisture evaporate faster.
-
- If you have one, use a fan or a hair dryer on the cool setting to speed up drying.
-
- Wait at least 2 hours before sitting down to make sure the leather is fully dry.
Mistake 3: Skipping the Conditioning Step
Cleaning is only half the job. If you clean leather seats without conditioning them afterward, the leather loses its natural oils and becomes dry and prone to cracking. According to detailing experts’ interior care guidance, conditioning is the key step for extending leather’s lifespan.
The fix: Once the leather is completely dry, follow up with a dedicated leather conditioner.
The conditioning process:
-
- Apply a leather conditioner (NOMA 686) according to the label instructions.
-
- Massage it in gently, following the grain of the leather.
-
- Let it soak in for 15–20 minutes.
-
- Wipe away any excess with a soft cloth.
Mistake 4: Using Harsh Chemicals or the Wrong Kind of Cleaner
A lot of owners assume a harsh cleaner or dish soap will clean better. In reality, these products are far too aggressive for soft leather — they can strip away the leather’s natural protective layer, cause irritation, or even change its color. Products that aren’t specifically formulated for leather seats can do real, lasting damage.
The fix: Only use cleaners specifically formulated for leather, with a safe, gentle formula. NOMA 692 is purpose-built for cleaning leather and fabric interiors without causing harm. This leather seat cleaner has a balanced pH, is gentle on leather, and effectively lifts dirt and grease.
Materials to avoid:
-
- Harsh ammonia-based cleaners.
-
- Shampoo or body wash meant for other purposes.
-
- Rubbing alcohol (99%) or other strong solvents.
-
- Industrial-strength chemical soaps.
Mistake 5: Forgetting the Hard-to-Reach Spots
Leather seats have plenty of seams, folds, and tight spots — exactly where dirt and bacteria love to build up. If you only wipe the flat surfaces and skip these areas, your seats will look clean on the outside while staying dirty underneath. These crevices are also where odor and mold tend to develop if moisture lingers.
The fix: Use a soft brush or a detail brush to get into tight gaps. NOMA 692 has just the right consistency to lift dirt out of these spots without causing damage.
Detailed cleaning steps:
-
- Dip a soft brush into diluted NOMA 692 solution.
-
- Gently scrub the seams and folds.
-
- Wipe again with a damp cloth to lift out loosened dirt.
-
- Dry with a soft cotton towel.
Spots people often miss:
-
- The seams between leather panels.
-
- The armrests.
-
- Around the adjustment buttons (on power seats).
-
- The bottom edge of the seat, where dust builds up the most.
Comparison Table: NOMA 692 vs. Traditional Leather Seat Cleaning Methods
| Criteria | NOMA 692 | Warm Water + Soap | Industrial Cleaner | Dry Cleaning (Vacuum) |
|---|---|---|---|---|
| Safe for leather | ✓ Purpose-built formula | ⚠ Can dry out leather | ✗ Can damage leather | ✓ No chemical contact |
| Removes grease | ✓ Highly effective | ⚠ Somewhat effective | ✓ Overly aggressive | ✗ Dry dust only |
| Balanced pH | ✓ Yes | ⚠ Depends on the soap | ✗ Usually too high | ✓ Not applicable |
| Dry time | ⚠ 2–3 hours | ⚠ 2–3 hours | ⚠ 2–4 hours | ✓ Dry instantly |
| Cost per use | ✓ Economical (diluted) | ⚠ Cheapest | ✓ Cheap | ⚠ No product cost |
| DIY-friendly | ✓ Easy to use | ✓ Very easy | ✗ High risk | ✓ Easiest |
The Complete Leather Seat Cleaning Process with NOMA 692
Step 1: Prep
Vacuum up dirt, pet hair, and food crumbs with a vacuum cleaner or soft brush. Crack the windows for airflow.
Step 2: Mix the Solution
Mix NOMA 692 with cold water at a 1:3 ratio (1 part product to 3 parts water). For heavily soiled seats, you can go up to 1:2, but plan on wiping it down more thoroughly afterward.
Step 3: Clean the Surface
Dip a soft cloth or soft brush into the solution and wipe the entire seat surface, following the grain of the leather. Go over it 2–3 more times with a clean, damp cloth to remove any leftover solution.
Step 4: Tackle the Tight Spots
Use a small brush to get into narrow gaps, then wipe again with a damp cloth.
Step 5: Dry
Dry completely with a soft cotton towel. Crack the windows and use a fan or a hair dryer on the cool setting to speed up drying.
Step 6: Condition
Once the leather is completely dry, follow up with a dedicated leather conditioner.
Frequently Asked Questions About Cleaning Leather Car Seats
Q1: Is NOMA 692 safe for fabric seats too?
Yes, NOMA 692 is formulated to clean both leather and fabric seats. It’s gentle enough not to fade or damage fabric material. That said, when using it on fabric, test a small, hidden spot first just to be safe.
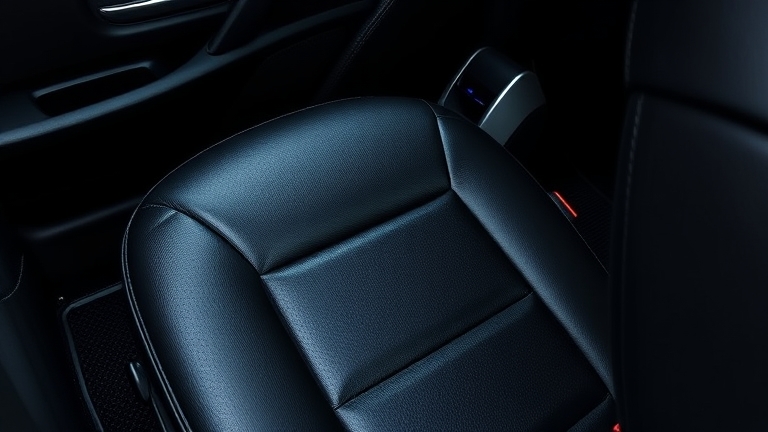 Frequently Asked Questions About Cleaning Leather Car Seats
Q2: How often should I clean my leather car seats?
It depends on how much you drive. If you’re driving daily, a thorough cleaning every 1–2 months is a good rule of thumb. If you drive less often, every 3–4 months is enough. Regular cleaning keeps dirt from building up, which makes each cleaning session easier.
Q3: Should I use a steam cleaner on leather seats?
Avoid steam cleaners. Steam that’s too hot (usually above 140°F/60°C) breaks down the leather’s structure, leaving it dry and stiff. Cold water combined with NOMA 692 is a much safer choice.
Q4: Will NOMA 692 leave my leather seats feeling slippery?
No. As a purpose-built interior cleaner, NOMA 692 is formulated to avoid leaving a slippery film once it dries. As long as you wipe away the excess solution, the seat will dry to a comfortable, non-slip finish.
Q5: I have sensitive skin — is it okay to use NOMA 692?
NOMA 692 is formulated to be gentle on skin, but if you have a history of allergies or sensitive skin, it’s a good idea to wear rubber gloves while using it. Avoid prolonged direct contact with your hands. If you’re unsure, test it on a small fabric swatch first.
Q6: Can I use NOMA 692 on other parts of the interior (dashboard, doors, fabric seats)?
Yes. NOMA 692 is designed as a multi-purpose cleaner for leather and fabric interiors. You can use it on the dashboard, seat backs, or other fabric trim. Just avoid getting electronic components too wet.
Conclusion: Clean Your Leather Car Seats the Right Way with NOMA 692
Cleaning leather car seats isn’t complicated, but it does require attention to detail. By avoiding these 5 common mistakes — hot water, skipping the drying step, forgetting to condition, using the wrong cleaner, and missing hard-to-reach spots — you’ll keep your interior clean, good-looking, and built to last.
NOMA 692 is a complete solution for cleaning leather and fabric interiors. Formulated to American standards, it’s safe, effective, and easy for any DIY car owner to use at home. Pair it with the right process, and you can maintain a professional-quality interior without an expensive trip to the detail shop.
Start with NOMA 692 — a dedicated leather interior cleaner today, and feel the difference in every cleaning session.
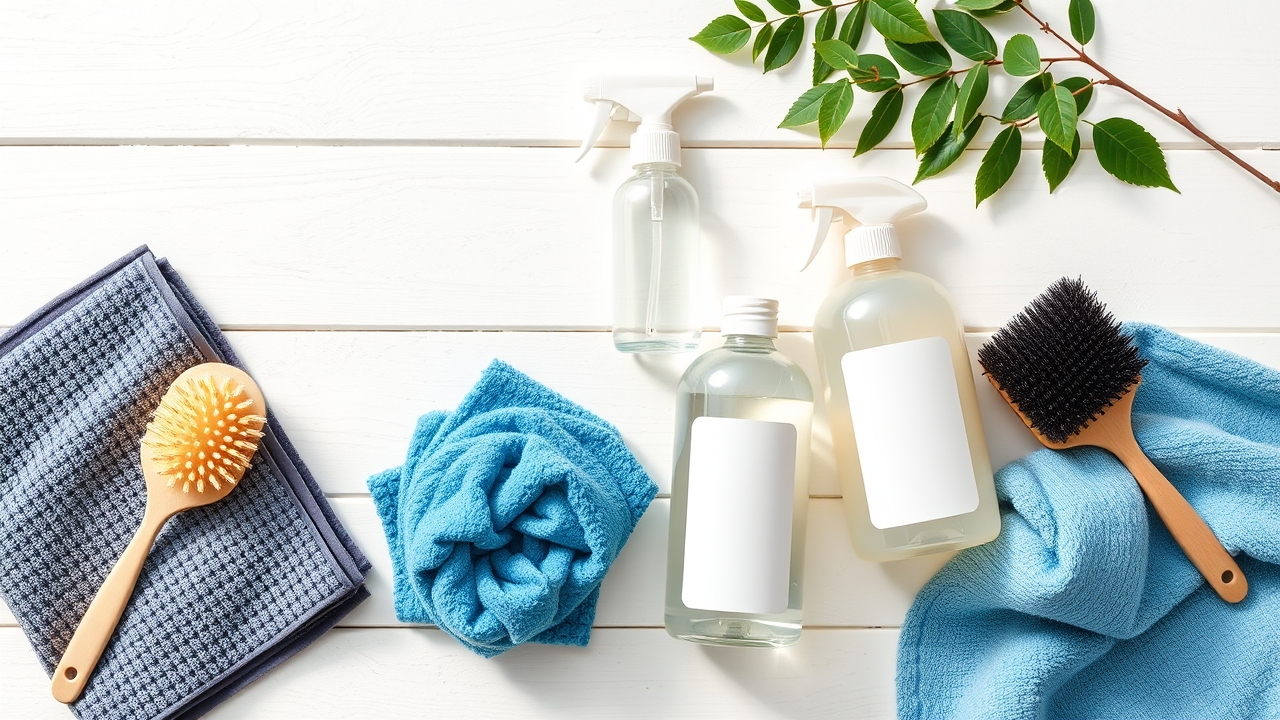
How to Clean Your Car Interior the Right Way: 6 Expert Steps You Can Do at Home

How to Clean Your Car Interior the Right Way: 6 Expert Steps You Can Do at Home
Cleaning your car’s interior is one of the most important parts of car care — and one owners tend to neglect most. Beyond just looking great, cleaning your car interior the right way extends the life of interior components like leather seats, textured plastic trim, glass, and the dashboard.
According to a report from Vietnam’s Ministry of Information and Communications, over 70% of car owners detail their vehicles at home but don’t know how to clean the interior effectively, which often leads to damaged trim or surfaces that never get truly clean. This guide walks you through 6 steps to clean your car interior the right way, with specific advice for each material and the right products to use.
Step 1: Gather Your Supplies and Do an Initial Clear-Out
Before you start cleaning your car’s interior, gather all your supplies and clear out any larger debris first. This step matters more than it seems — if you skip it, loose grit will grind against surfaces as you wipe, causing scratches.
Supplies you’ll need:
-
- A vacuum cleaner (handheld and/or full-size)
-
- Clean, soft microfiber towels (at least 3-4)
-
- A soft brush or small brush for tight gaps and crevices
-
- A bucket of clean water and distilled water
-
- Detailing tools for tight spots (a detailing brush or specialty tool)
Start with a full vacuum of the seats, floor, and gaps between seats. Wipe surfaces down with a lightly damp microfiber towel to remove fine dust. This step sets you up with a clean surface for everything that follows.
Step 2: Cleaning Leather and Fabric Seats — Choosing the Right Solution
Leather and fabric seats need different products because the materials behave completely differently. This is a critical step in interior cleaning since seats take up the largest surface area.
For leather seats:
Natural leather needs a pH-neutral, safe solution free of harsh chemicals that could dry out the leather or fade its color. Use a dedicated leather cleaner that lifts stains while preserving the leather’s natural softness.
Wipe leather seats with a microfiber towel dampened with the solution, working in the direction of the leather’s grain. For stubborn stains, let the solution sit for 5-10 minutes before wiping again. Finish by drying with a clean towel.
For fabric seats:
Fabric seats hold onto dirt easily and often develop odors from buildup. Use a soft brush or a dedicated interior detailing brush to gently agitate the fabric, then wipe with a damp towel. For deep-set stains, spray on a dedicated cleaning solution and let it sit for 10-15 minutes before wiping.
Check out our full guide to leather seat care for more tips on protecting your leather long-term.
Step 3: Restoring and Cleaning Textured Plastic Trim — How to Keep It Dust-Free
Textured plastic trim gets dirty fast and attracts dust and grime easily, which can really hurt the look of your interior. Cleaning your car interior means paying special attention to this trim, since it fades easily if you use the wrong product.
Common areas with textured plastic trim:
-
- Armrests
-
- Door frames and edges
-
- Center console
-
- Decorative trim around the doors
When textured plastic trim gets damaged, it turns faded and dull, losing its depth and attracting dust even more easily. To restore it, you need a dedicated product that can revive the color and leave behind a dust-repelling protective layer. Look for a pH-neutral formula that’s also gentle on your hands during use.
Trim restoration process:
1. Wipe the plastic surface clean with a damp towel
2. Spray or apply the trim restorer evenly across the entire surface
3. Let it dry for 5-10 minutes
4. Buff with a clean towel to prevent dust buildup
Step 4: Caring for Your Car’s Glass — Preventing Mold and Fogging
Car glass easily collects condensation, hard water spots, and can even develop mold if the car sits in humid conditions for too long. You can’t skip the interior glass when cleaning your car’s interior — it directly affects visibility and driving safety.
How to clean the glass:
-
- Use a dedicated anti-mold glass cleaner or a pH-neutral cleaning solution
-
- Wipe with a microfiber towel in a consistent direction to avoid streaks
-
- If the glass has mold spots (small dark specks), let the solution sit for 10-15 minutes before wiping
After cleaning, apply a layer of anti-fog, water-repelling coating to the glass. This helps water bead up and run off easily instead of clinging to the surface, while also preventing mold from coming back long-term.
Discover the secret to keeping your car glass mold-free with the right, safe, effective products.
Step 5: Cleaning the Dashboard and Electronic Components
The dashboard, touchscreen, and other surfaces with electronic components need careful handling to avoid damage. This is the trickiest part of interior cleaning since it’s easy to let water get into small openings.
Safety rules:
-
- NEVER spray liquid directly into speaker grilles, air vents, or connector ports
-
- Use only a lightly damp microfiber towel — never soaking wet
-
- Wipe gently — don’t scrub hard
-
- For dust in tight gaps, use a soft brush or a cordless handheld vacuum
For touchscreens, wipe with a damp towel and immediately dry with a clean towel. Don’t let any moisture sit on the screen for long.
Step 6: Applying a Protective Layer and Checking Your Final Results
Once you’ve cleaned the entire interior, the final step is applying a long-lasting protective layer. This extends the time before your next deep clean and keeps the interior looking good longer.
Common protective products:
-
- Leather seat protectant: creates a natural matte finish and prevents cracking
-
- Plastic trim protectant: blocks UV rays, repels dust, and restores color
-
- Anti-mold glass treatment: creates a hydrophobic layer that resists mold growth
When you’re done, open the car doors to air it out, and run the A/C on fresh-air mode for 10-15 minutes to clear out any lingering product smell. Close the doors and let everything sit for 2-4 hours so the products fully cure before you use the car.
Comparison Table: Common Car Interior Cleaning Methods
| Method | Cost | Effectiveness | Safety | Ease of Use |
|---|---|---|---|---|
| DIY at home with safe products | Low | High | High | Very high |
| Using harsh chemical solutions | Medium | Very high | Medium | Medium |
| Professional detailing service | High | Very high | High | Very high |
| Using saltwater or vinegar | Very low | Low | High | High |
Frequently Asked Questions About Car Interior Cleaning
Q1: How often should you clean your car’s interior?
We recommend cleaning your car interior every 2-4 weeks for high-touch areas like the seats, floor, and dashboard. For plastic trim and glass, once a month or whenever you notice dirt is fine. If the car is parked outside for long stretches or in humid conditions, bump the frequency up to every 2 weeks.
Q2: Is plain water okay for cleaning a car interior?
Plain water works for dampening a towel for basic surfaces, but it won’t cut through stubborn stains or glass mold. It also won’t leave any protective layer on plastic or leather. It’s best to use a high-quality, dedicated cleaning solution with a pH-neutral formula that cleans and protects at the same time.
Q3: What should I use to restore faded plastic trim?
Faded plastic trim is caused by oxidation and loss of its protective layer. You need a dedicated trim restorer with nourishing ingredients and UV protection. Look for a safe formula without heavy silicones that can leave a greasy film.
Q4: What do I do about moldy car glass?
Glass mold (small dark specks or a white haze) usually comes from high humidity inside the car combined with dust buildup. To clean it, use a dedicated anti-mold solution or cleaning solution, let it sit for 10-15 minutes, then wipe. Afterward, apply a water-repelling coating to prevent mold from returning. Keep the car well-ventilated by cracking the windows regularly or running the A/C on fresh-air mode.
Q5: Do I need a dedicated car vacuum?
A regular household vacuum works fine, but a car-specific vacuum is designed to pull dust out of seat gaps and tight corners more effectively. If you’re just doing routine maintenance, a regular vacuum is enough. For a more professional result, a dedicated unit is the better choice.
Q6: What should I look for in a car interior cleaning product?
A good car interior cleaner should have these qualities:
-
- pH-neutral: safe for your hands and for the car’s surfaces
-
- Streak-free formula: dries clean without leaving marks
-
- Fast-acting: cleans effectively with minimal effort
-
- Protective finish: leaves behind a layer that resists dust, UV, or mold
Q7: Do different interior materials (leather, plastic, fabric) need different products?
Yes, each material has its own properties. Leather needs a gentle solution; fabric needs a brush to lift deep-set dirt; textured plastic needs a color restorer; glass needs an anti-mold product. Using the right product for each material extends the life of your interior.
Q8: Is it okay to use hot water to clean a car interior?
Never use hot water, especially on leather and plastic. Hot water can cause leather to shrink and lose its softness, and it can damage plastic surfaces. Stick to cold or lukewarm (never hot) water, and always test on a small area before applying it more broadly.
Conclusion
Cleaning your car interior the right way doesn’t just keep it looking good — it protects your interior components from premature damage. By following these 6 detailed steps — from gathering supplies, cleaning leather/fabric seats, restoring plastic trim, cleaning the glass, caring for the dashboard, to applying a protective finish — you can detail your car at home like a pro.
The key to success is choosing safe products with pH-neutral formulas and following the process correctly. With consistency, your car’s interior will stay glossy, fresh, and last far longer than one that never gets this level of care.
Sources
- Report from Vietnam’s Ministry of Information and Communications