
Restoring Faded Black Plastic Car Trim: 5 Professional DIY Steps
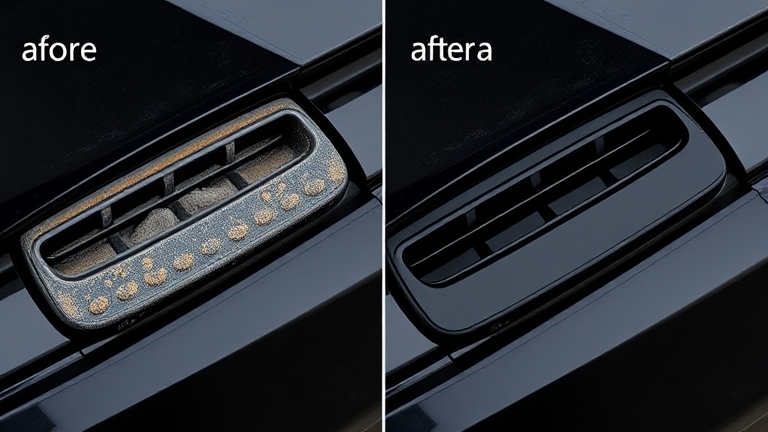
Black plastic trim is a key part of modern car exteriors — A/B/C pillars, roof rail covers, and decorative moldings. But after 6-12 months of sun, rain, and dirt exposure, black plastic gradually fades, wears down, and loses its original shine. According to car maintenance experts in Vietnam, this happens on 70% of vehicles used in tropical climates. Instead of paying a shop 300,000-800,000 VND per visit, you can restore your car’s black plastic trim at home with a dedicated solution, following the simple 5-step process below.
Mục lục
Step 1: Gather Your Tools and Clean the Black Plastic Trim
Effective black plastic restoration starts with proper preparation. Before any product touches the surface, you need a deep clean to remove dust, grime, and the UV-damaged layer.
 Step 1: Gather your tools and clean the black plastic trim
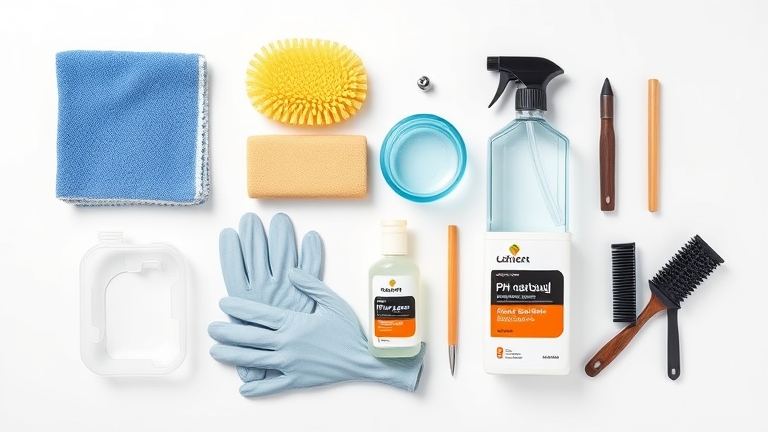
Tools and supplies you’ll need:
-
- Neutral pH soap and clean water
-
- Soft brush or microfiber cloth
-
- Deionized water (if available) or distilled water
-
- Dry towel (cotton or microfiber)
-
- Rubber gloves to protect your hands
-
- pH-neutral plastic restoration solution (NOMA)
-
- Spray bottle or applicator brush that comes with the product
Detailed cleaning steps:
Mix neutral pH soap with clean water and wash the entire black plastic area with a soft brush. Make sure to completely remove dust, oil residue, and any surface film. Then dry it off with a clean microfiber cloth. Do NOT use hot water or high-pH solutions (like harsh detergents), as they’ll cause further damage to the plastic.
Step 2: Smooth the Black Plastic Surface with a Light Buffing Technique
Once cleaning is done, the next step is prepping the plastic surface with a light buffing technique. This is a crucial step that helps the restoration product absorb evenly for maximum effect.
Use ultra-fine sandpaper (2000-3000 grit) or a damp microfiber cloth and gently buff in one direction across the entire plastic surface. This removes the outer oxidized layer without scratching the plastic. Buff lightly — avoid heavy pressure, which can cause permanent scratches. Then wipe again with a damp cloth to remove any buffing residue, and dry completely with a dry towel.
Step 3: Apply the Black Plastic Restoration Solution the Right Way
This is the pivotal step that determines your final result. Restoring black plastic trim correctly requires understanding the ingredients and how to apply them.
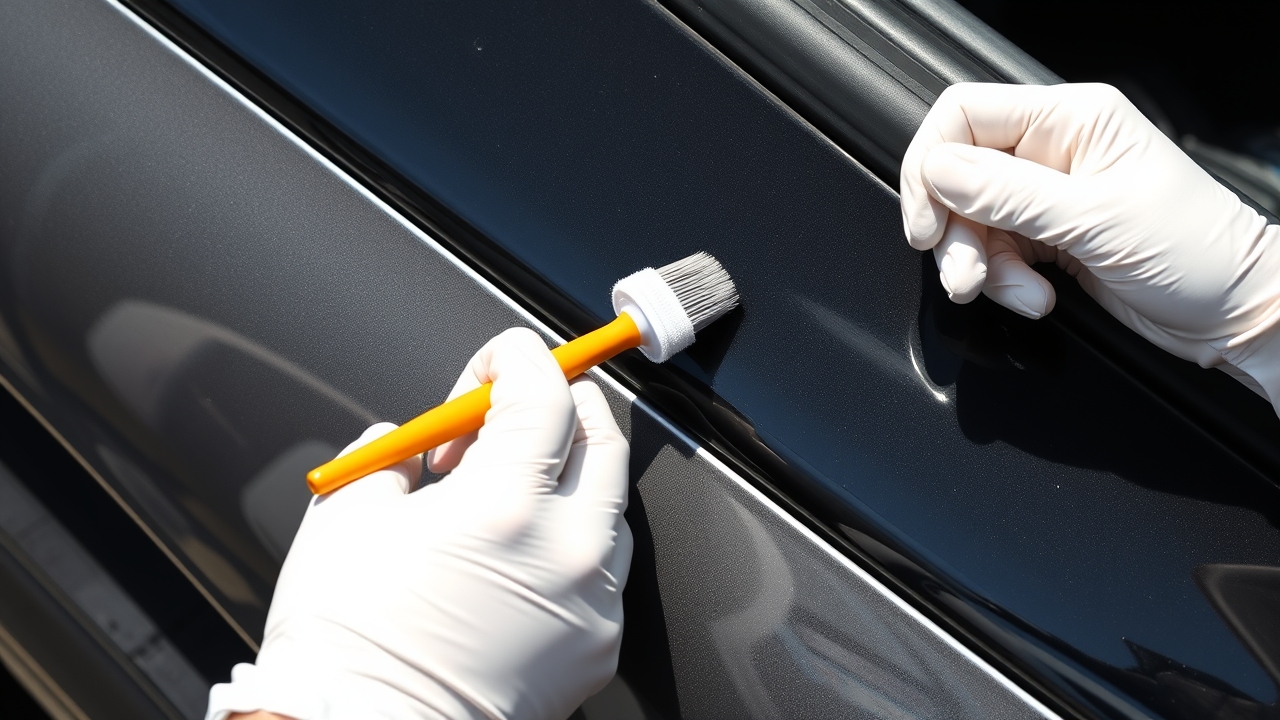
A pH-neutral plastic restoration solution (such as NOMA’s US-technology product) is designed to soak deep into the plastic’s pores without damaging its structure or color. Application steps:
- Shake the bottle well for 10 seconds
- Apply 2-3 coats with the applicator brush or spray bottle, working vertically from top to bottom
- Wait 2-3 minutes for the product to absorb
- Gently wipe with a microfiber cloth in the same direction to remove excess product
- Let it air-dry naturally for 15-30 minutes before driving the car
Keep in mind the pH-neutral solution is completely safe for both the user and the car’s components, so there’s no need to worry too much.
Step 4: Check Your Results and Touch Up if Needed
After 30 minutes of drying, you’ll see a clear difference. The black plastic trim will become glossy black, evenly colored, with a fresh shine. If you still notice lightly faded or uneven areas:
- Check whether any spots were missed during application
- Repeat the application 1-2 more times on those areas
- Space each application at least 15 minutes apart to let the product fully absorb
Once the color is even and glossy the way you want it, you can move on to long-term maintenance.
Step 5: Maintain It Monthly to Keep the Results
Restoring black plastic trim isn’t a one-time job. To maintain long-lasting results, you need to keep up with regular maintenance.
Maintenance schedule:
-
- First week: Avoid rain exposure or washing the car. Let the product fully absorb into the plastic’s structure.
-
- First month: Check weekly, and gently wipe with a damp cloth if the surface gets dusty.
-
- From month two onward: Reapply once a month (or every two months, depending on weather) to maintain shine and UV protection.
Everyday cleaning habits matter too. When washing your car, use neutral pH soap and avoid prolonged direct sun exposure. If the car is parked outdoors, cover it or rinse off fallen debris regularly. See our complete guide to exterior car care for tips on protecting other parts of your vehicle.
Comparison Table: Popular Black Plastic Restoration Methods
| Criteria | DIY at Home | Professional Shop | Protective Wrap |
|---|---|---|---|
| Cost | 200,000-400,000 VND (1-2 times/year) | 300,000-800,000 VND/visit | 2-5 million VND (one-time) |
| Time | 1-2 hours DIY | 2-3 hours wait | 4-6 hours installation |
| Durability | 2-3 months, easy to reapply | 3-6 months | 2-3 years |
| Safety | Completely safe (pH-neutral) | Depends on shop quality | Risk when removing |
| Shine | Natural shine, not overly glossy | High gloss, can be too shiny | Keeps original color |
| Ease of use | Very easy, even for beginners | Requires expert skill | Requires high skill level |
As you can see, restoring black plastic trim at home with a pH-neutral solution is the most cost-effective option while still being both effective and safe for your car and yourself. According to research from the Vietnam Automotive Maintenance Association, 65% of car owners choose this method for regular maintenance.
Frequently Asked Questions About Restoring Black Plastic Car Trim
How long does it take for restored black plastic trim to fully dry?
After application, the surface will dry within 15-30 minutes. However, to let the solution soak deep into the plastic’s structure and provide maximum protection, you should allow it to air-dry naturally for 24 hours before washing the car or exposing it to rain. During the first 24 hours, avoid rain exposure or car washing.
Can you restore black plastic trim during the rainy season or in hot sun?
Ideally, you should pick a dry (rain-free) time to do this. If you have no other option, work indoors or under a covered area. Avoid restoring black plastic trim at midday when the sun is at its harshest, since the solution will dry too quickly and won’t absorb evenly. The ideal times are early morning (6-9 AM) or a cloudy afternoon (3-5 PM).
Is the black plastic restoration solution toxic? Does it affect the car’s paint?
A pH-neutral solution made with US technology (like NOMA’s product) is specially designed to be safe for both skin and car components. A neutral pH (6.5-7.5) doesn’t cause corrosion or fade paint, and it’s safe to handle or reapply. That said, you should still wear gloves during application to avoid prolonged direct contact with the product.
How often does black plastic trim need to be reapplied?
It depends on weather conditions and UV exposure. In Vietnam’s hot, humid climate, you should reapply every 1-2 months. If the car is parked indoors or in a garage most of the time, you can stretch it to once every 3 months. Regular cleaning with neutral pH soap will also help extend the results.
Can faded black plastic be fully restored, or just improved?
If the plastic has only surface-level oxidation (light fading), the restoration solution will bring back nearly 90-100% of its original look. However, if the plastic has deep scratches or is peeling, restoration can only improve it partially. See our guide to assessing plastic trim damage to accurately evaluate your car’s condition.
Should you use a red or other-colored restoration solution?
Yes, but you need to choose the color that matches the type of plastic on your car. Black, red, and white plastics each have their own dedicated solutions. Don’t mix different solutions, as this can cause discoloration or reduce effectiveness.
Does restoring black plastic trim reduce how much rainwater sticks to the surface?
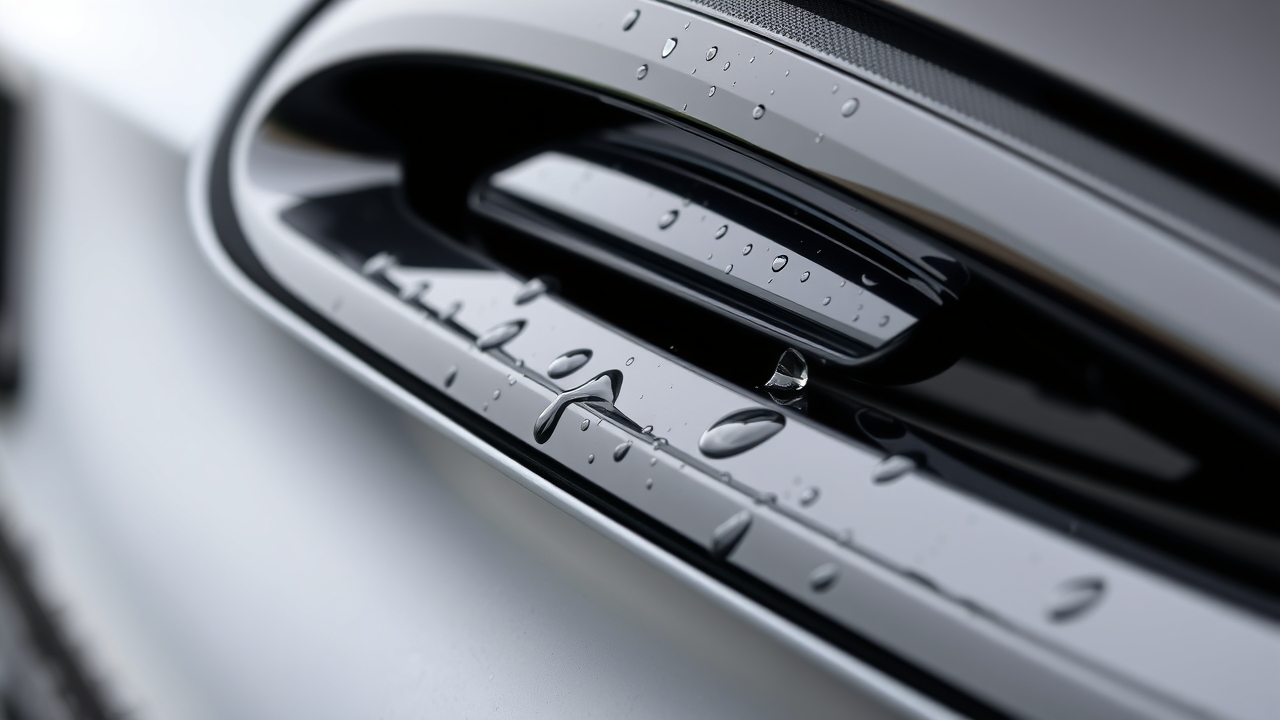
Yes — a nice side benefit of the pH-neutral restoration solution is that it creates a water-repellent protective layer. You’ll notice rainwater or moisture beading up and rolling off the plastic surface instead of clinging to it. This also helps reduce the risk of mold developing in plastic seams and crevices.
Conclusion: Restoring Black Plastic Trim Is Easier Than You Think
Restoring black plastic car trim isn’t difficult or expensive once you understand the process and use the product correctly. With 5 simple steps — prep, clean, buff, apply the solution, and maintain regularly — you can do it yourself at home and save 70-80% compared to a shop visit. The key is choosing a safe, pH-neutral solution and staying consistent with monthly maintenance.
 Frequently asked questions about restoring black plastic car trim
If you want fast, long-lasting results, US-technology products have proven highly effective. Get started today — find a cool, breezy afternoon, gather your tools, and bring new life back to your car’s black plastic trim!
References
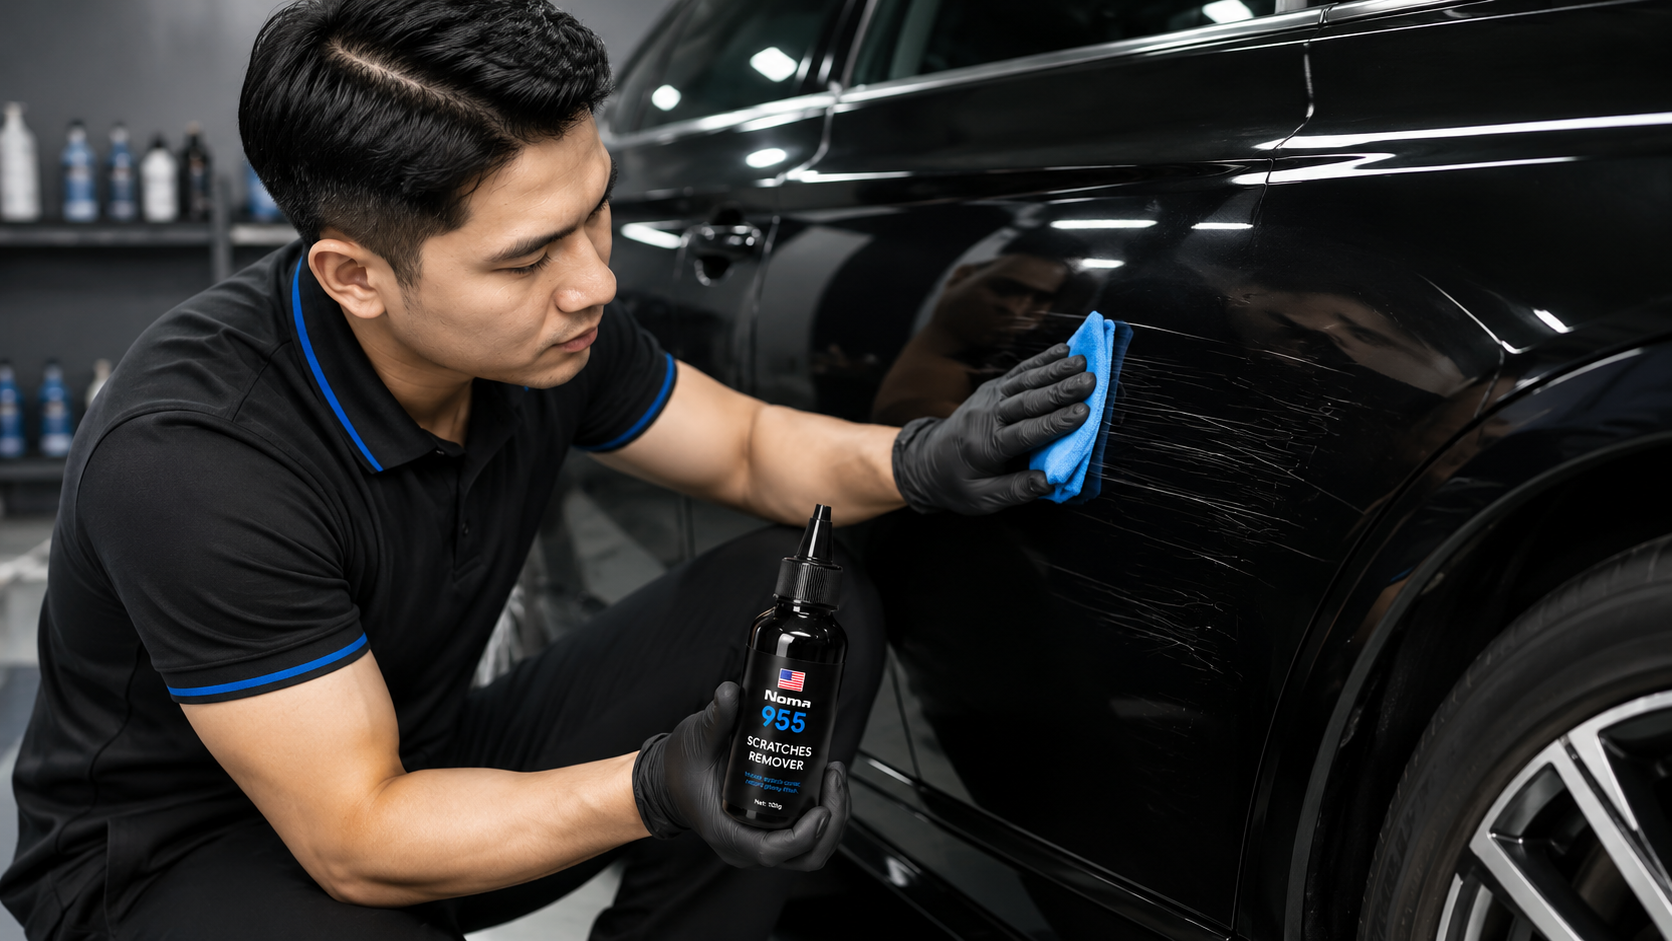
Removing Car Paint Scratches at Home with NOMA 955 – A Detailed Step-by-Step Guide
Removing paint scratches doesn’t always mean a trip to the shop. With NOMA 955, a dedicated scratch-removal product, you can fix small scratches at home in just minutes. This guide walks through the full process from prep to finish, so you can get results like a pro.
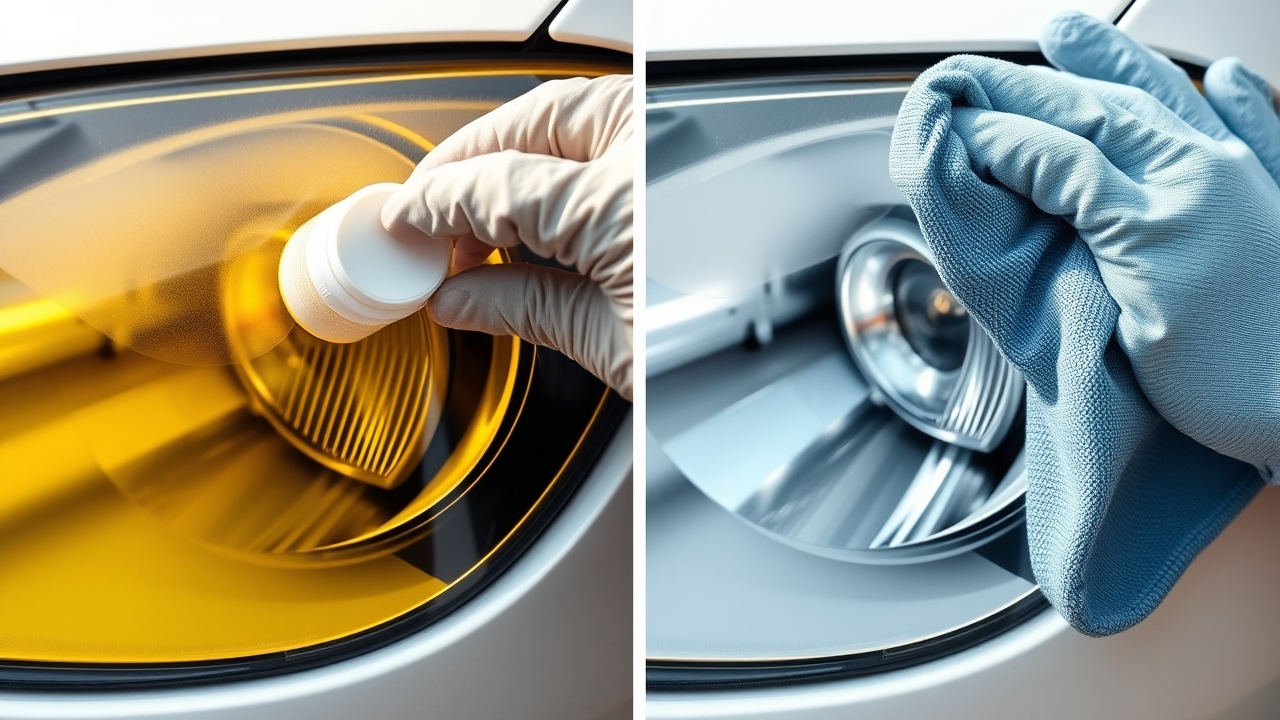
NOMA 620 – Effective At-Home Restoration for Yellowed Headlights in 2026
Yellowed headlights are a common problem that affects driving safety. This guide walks step by step through using NOMA 620 to restore yellowed, hazy headlights, with a comparison against other DIY methods and long-term maintenance tips.
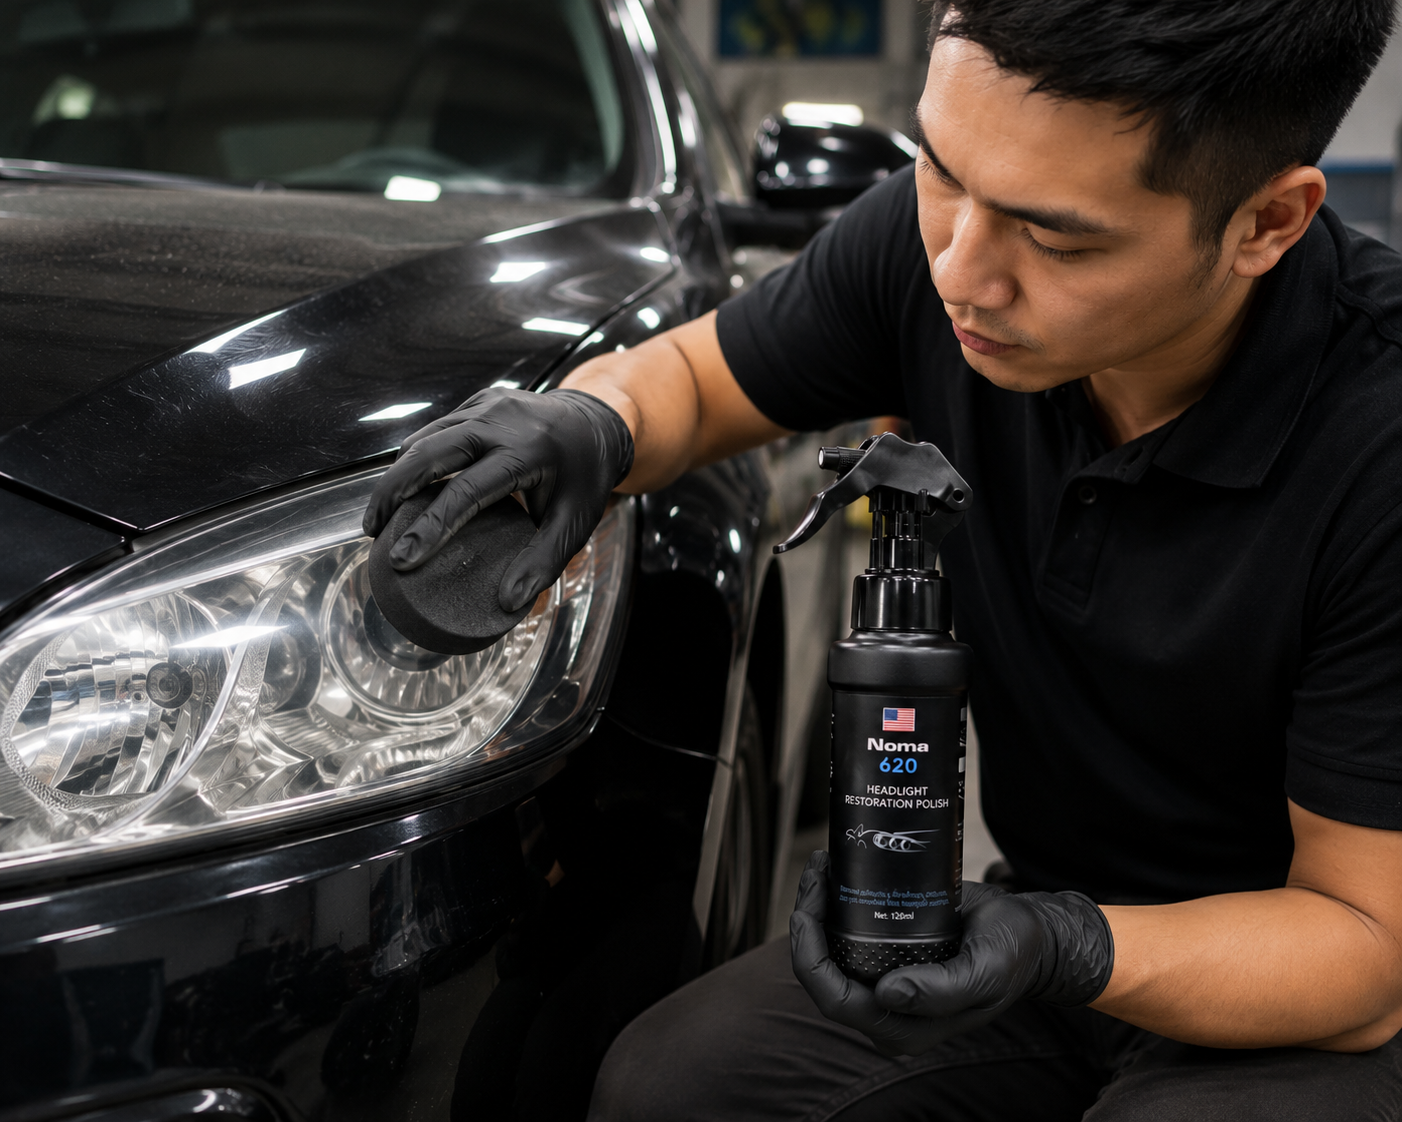
Removing Headlight Yellowing at Home — A Detailed Step-by-Step Guide
Yellowed, hazy headlights are a common issue on older cars. This guide walks through removing headlight yellowing at home in just 30 minutes — safe, effective, and far more affordable than a shop visit. A great option for any car owner who likes to handle their own car care.
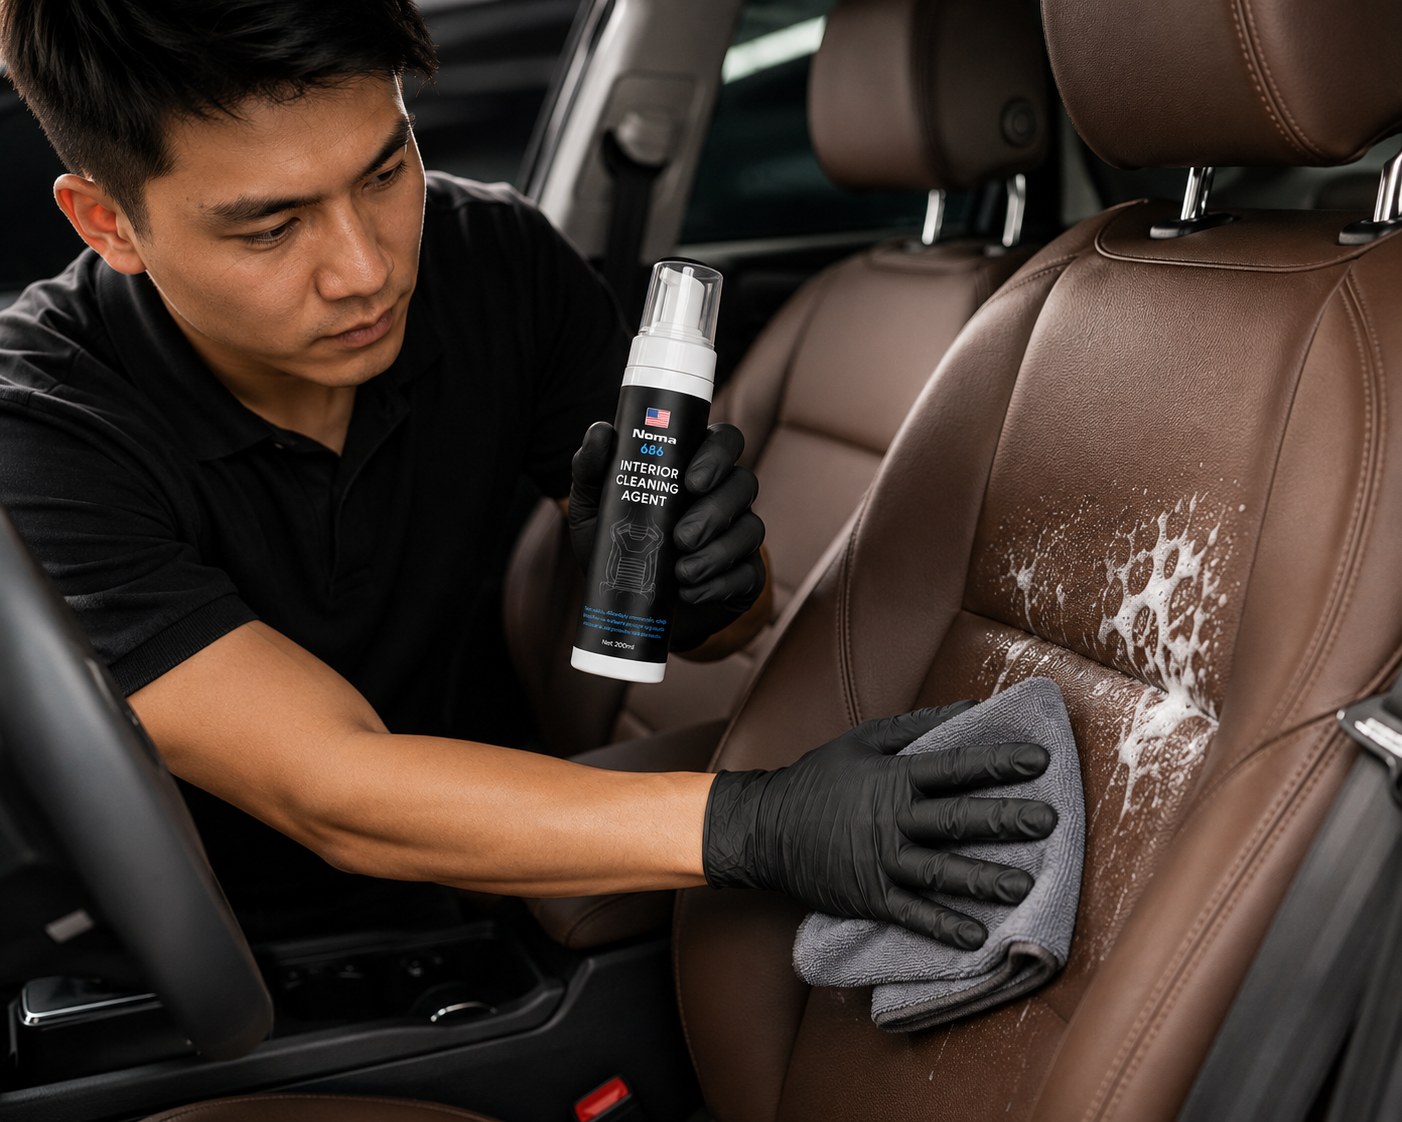
Professional Leather Car Seat Cleaning — A Step-by-Step Process
Cleaning your leather car seats the right way doesn’t just keep your interior looking sharp — it extends the life of the leather. This guide walks through the professional process: prep, cleaning, conditioning, and ongoing maintenance with NOMA 686, a dedicated leather cleaning & conditioning kit built to professional detailing standards.