Removing Car Paint Scratches at Home with NOMA 955 – A Detailed Step-by-Step Guide
Paint scratches are a problem nearly every car owner runs into. From small scuffs caused by hail or brush against foliage, to light scrapes from a minor bump — these blemishes don’t just hurt your car’s looks, they also expose the base coat underneath, leaving the car more vulnerable to corrosion.
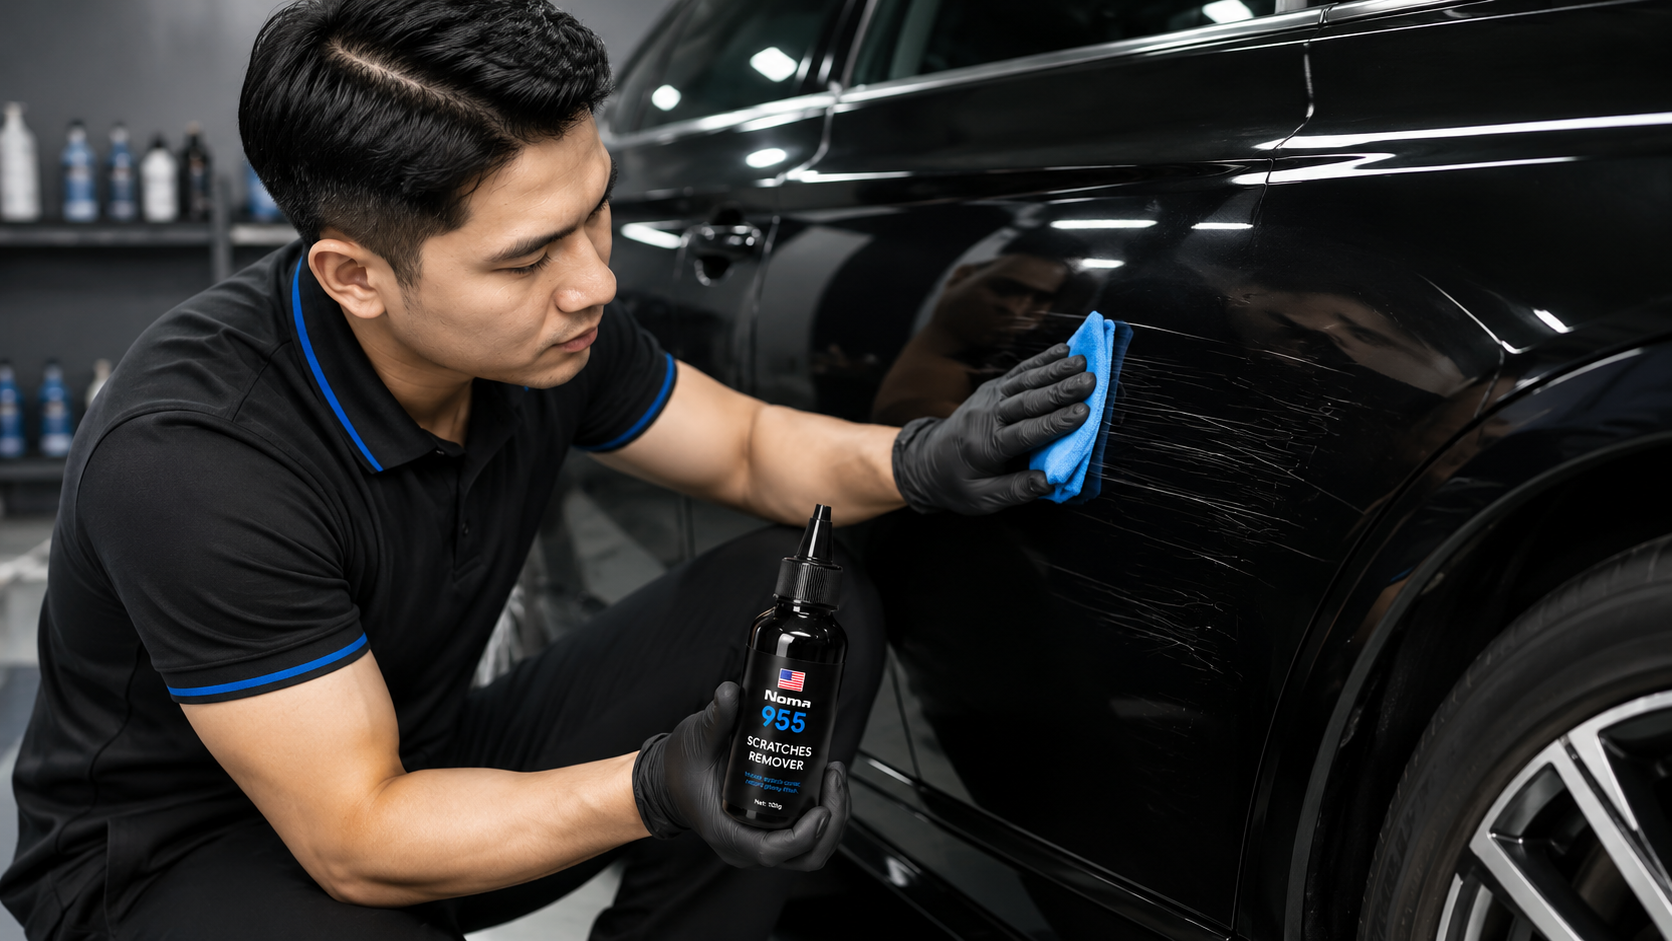
Instead of paying shop prices, you can remove paint scratches at home. NOMA 955 is a dedicated scratch-removal product built for DIY car care. This article walks you through the process step by step, so you can restore your paint effectively, safely, and affordably.
What Conditions Do You Need to Remove Paint Scratches?
Before you dive into the scratch removal process, it helps to understand the type of scratch you’re dealing with and the ideal working conditions.
Classifying paint scratches:
- Surface scratches (clear coat scratches): These only affect the outermost clear coat and don’t expose the base paint or primer underneath. This is the type of scratch NOMA 955 is best suited for.
- Deep scratches: These expose the base paint or primer layer. This type needs more involved treatment — potentially sanding, filling, and repainting.
For surface scratches, NOMA 955 can remove them completely or significantly reduce how deep they appear. Per consumer car-care guidance, using the right product for the type of scratch you have is the first step toward getting the best results.
Ideal working conditions:
- Mild sunlight outdoors, or good indoor lighting (so you can clearly see the scratch).
- Temperature between 59–77°F (15–25°C) — not too hot or too cold.
- No rain expected in the next 24 hours.
- A clean, well-ventilated workspace.
Tools and Materials to Prepare for Removing Paint Scratches
Thorough preparation is the key to successfully removing paint scratches.
Tools needed:
- An electric polisher (rotary or orbital) — optional, but it improves results if you have several scratches.
- Your hand, or a soft microfiber polishing pad.
- 2-3 clean microfiber cloths.
- Dedicated car wash soap (or clean water).
- 2-3 buckets of water for pre- and post-rinsing.
- Protective gloves.
Main material:
- NOMA 955: the dedicated scratch-removal product — this is the most important part of the process.
- Water or a moisturizing solution (in a spray bottle).
Step-by-Step Paint Scratch Removal Process with NOMA 955
Step 1: Wash the car
Start by washing the entire car with car wash soap and water. This removes dust, grit, and small particles that could cause additional scratching while you work.
Wash thoroughly, especially around the scratched area, then dry completely with a clean microfiber cloth.
Step 2: Inspect and mark the scratch
Look closely at the scratched area under good lighting. If the scratch is small and only affects the surface, you can proceed. If it’s deep and exposes the base paint, consider getting help from a professional.
You can use a light-colored marker to outline the scratch’s boundary, which makes it easier to track your progress.
Step 3: Apply NOMA 955
Place a small amount of NOMA 955 (about 1-2 ml) onto your polishing pad or hand. You don’t need much product — a small amount is all it takes.
If working by hand, gently rub the scratched area in circular motions. If using a polisher, set it to a low speed (1,200-1,500 RPM) for better control.
Step 4: Buff out the scratch
Work slowly and steadily, about 30-60 seconds per small scratch. Keep checking your progress as the scratch gradually fades.
If the scratch is still visible, repeat steps 3-4 one or two more times. Don’t press too hard — overdoing it can thin out the paint.
Step 5: Wipe away excess product
Once the scratch has faded or disappeared, use a slightly damp microfiber cloth to wipe away any leftover NOMA 955. Then dry with a separate clean microfiber cloth.
Check your results under good lighting. If you’re satisfied, move on to the next step.
Comparing Scratch Removal Methods: DIY vs. Shop vs. Other Solutions
| Criteria |
DIY Scratch Removal (NOMA 955) |
Professional Shop Service |
Scratch-Healing Products |
Shop Repaint |
| Cost |
Low (one bottle covers 20-30 uses) |
High (per scratch) |
Moderate |
Very high |
| Time |
10-20 min per scratch |
2-4 hours |
5 minutes, but slower results |
1-2 days |
| Skill Needed |
Basic, easy to learn |
Professional |
Basic |
Professional |
| Effectiveness on Surface Scratches |
80-95% |
95-99% |
30-50% |
100% |
| Effectiveness on Deep Scratches |
40-60% |
70-85% |
Not effective |
100% |
| Follow-Up Protection |
Needs to be added separately |
Usually included |
Built in |
Comes with new paint |
As you can see, removing paint scratches at home with NOMA 955 is the optimal solution for surface scratches — it’s affordable, fast, and delivers strong results.
Caring for and Protecting Your Paint After Scratch Removal
Once you’ve removed the scratches, a bit of aftercare helps your paint stay in good shape.
First 24 hours:
- Don’t wash the car.
- Don’t leave the car out in rain or strong sun.
- Keep the car in a garage or under cover.
First week:
- Wash gently if needed.
- Avoid directly spraying water on the area you just treated.
Long-term protection:
- Use a dedicated paint protection product.
- Wash the car regularly (every 2-4 weeks) with clean water and dedicated car soap.
- Avoid extended exposure to sun or rain.
Common Mistakes When Removing Paint Scratches
Mistake 1: Rubbing too hard or too long. This can thin out the clear coat or even expose the base paint. Work gently, check your progress often, and stop as soon as the scratch fades.
Mistake 2: Not washing the car before treating scratches. Dust and grit can cause additional scratching while you work. Always wash and dry the area thoroughly first.
Mistake 3: Using the wrong type of pad. A stiff pad can cause more scratching. Only use a soft microfiber pad or your hand.
Mistake 4: Skipping paint protection afterward. Freshly treated paint is more vulnerable to oxidation. Apply a protective product within 1-2 weeks.
Frequently Asked Questions About Removing Paint Scratches
Does removing paint scratches void my warranty?
No, as long as you don’t cause additional damage to the paint. Shops use a similar process themselves. That said, if your car is still under manufacturer warranty, check the terms before doing it yourself.
Is NOMA 955 safe for all paint types?
Yes. NOMA 955 is designed to be compatible with standard automotive paint — solid, metallic, and matte finishes. That said, if your car has a specialty finish (ceramic-coated or custom paint), check with the manufacturer first.
Do I need to repaint after removing scratches?
If the scratch is only surface-level, scratch removal is all you need. If it’s a deep scratch that exposes the base paint, you’ll need a repaint to prevent corrosion.
Can NOMA 955 be used on deep scratches?
Users typically report 40-60% effectiveness on deep scratches. It’s not a perfect fix for deep scratches, but it does reduce their depth and visibility significantly.
How many uses do I get out of one bottle of NOMA 955?
One bottle of NOMA 955 typically lasts for 20-30 uses, depending on the size of the scratches. That makes the cost per use very low compared to shop pricing.
Should I use a polisher or my hand?
If you’re dealing with just 1-2 small scratches, your hand is enough. If you have several scratches, a polisher (orbital) gets the job done faster and more evenly. That said, working by hand still gets good results if you’re patient.
Does DIY scratch removal affect my car’s resale value?
No, as long as it’s done correctly. In fact, removing scratches protects the paint and improves how the car looks. The key is avoiding excessive rubbing that thins the clear coat. Done right, buyers will see a better-looking car, which helps resale value.
Conclusion: Removing Paint Scratches at Home Is Completely Doable
Removing paint scratches doesn’t require an expensive trip to the shop. With NOMA 955 and the right technique, you can restore your car’s paint at home, saving both time and money.
The process is simple: wash → inspect → apply NOMA 955 → buff gently → wipe clean → protect with a nano coating. Try it today on a small scratch on your car — you’ll be surprised by the results.
Need more help? Visit the NOMA website to learn more about our products and other how-to guides.
Sources
- Consumer protection car-care guidance